
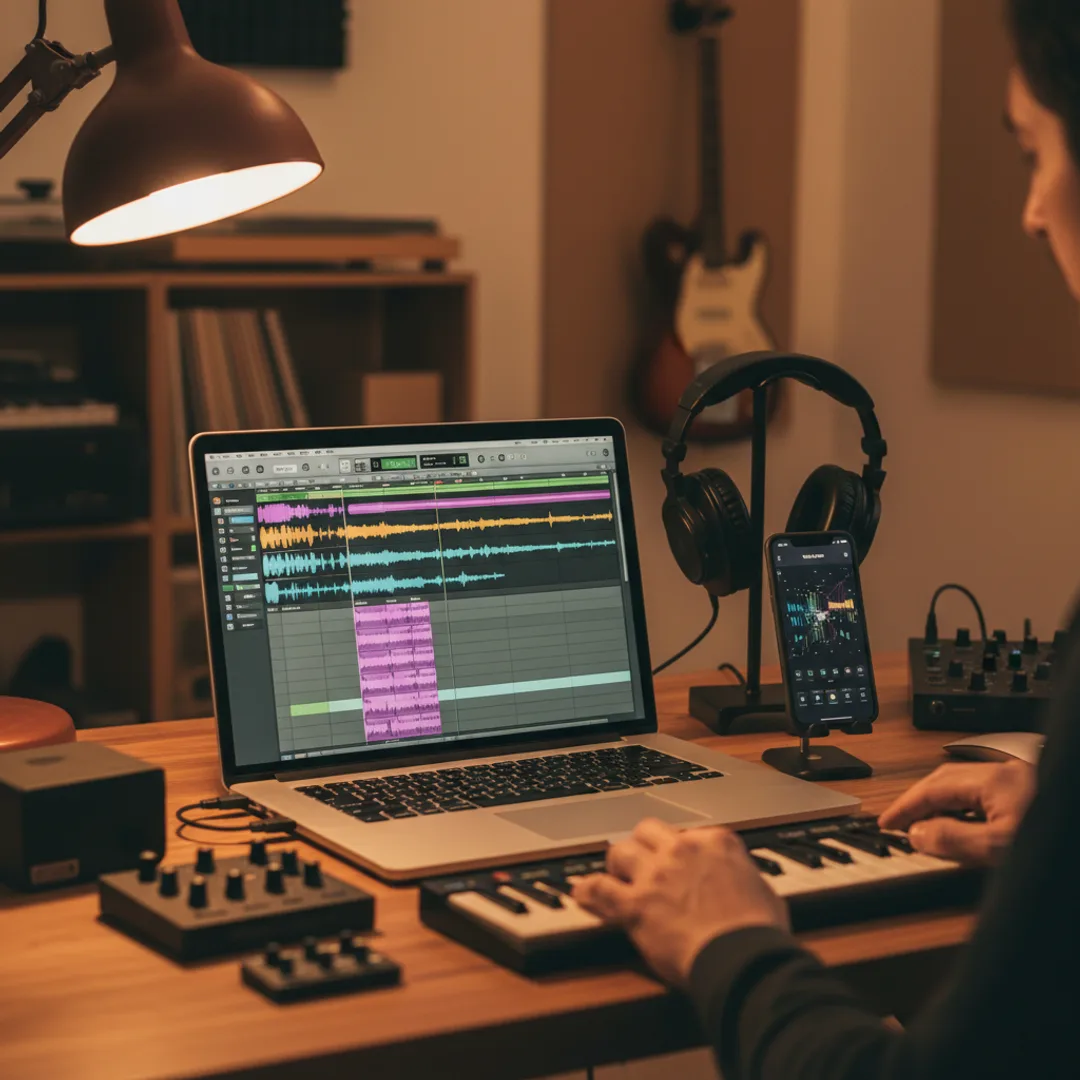
AI Music in GarageBand: Import, Remix, and Master
Import AI-generated tracks into GarageBand on iPhone, iPad, or Mac. Step-by-step workflow for remixing, layering, EQ, mastering, and exporting your finished AI song.
GarageBand has been the default DAW for casual Mac and iPhone users for nearly two decades, and the integration with AI music apps has become unexpectedly powerful in the last year. Generate a track in Muziko or Suno, import it into GarageBand, layer in your own vocal recording or a few extra instruments, master with the built-in EQ and compressor, and export a finished track that is meaningfully more polished than the AI generation alone. The whole workflow runs on devices most users already own, with software that is free across iPhone, iPad, and Mac.
This is the case for the GarageBand-as-AI-music-post-production workflow that most casual users never explore. GarageBand is treated as a beginner's DAW, which it technically is — but a beginner's DAW is exactly the right tool for polishing AI-generated tracks. The advanced features of Pro Tools or Logic Pro are overkill for most AI music post-production needs. GarageBand has just enough — multitrack editing, audio effects, EQ, compression, virtual instruments, loop library, master output mastering — to take an AI track from "good first draft" to "release-ready polish" without the steep learning curve.
This guide is the workflow I have refined across about thirty AI-into-GarageBand projects over the last six months. The import process across iPhone, iPad, and Mac, the basic editing and remixing workflow, layering with GarageBand's instruments and loops, mastering with the built-in tools, and the export-and-distribute pipeline.
Why GarageBand is the right DAW for AI music post-production
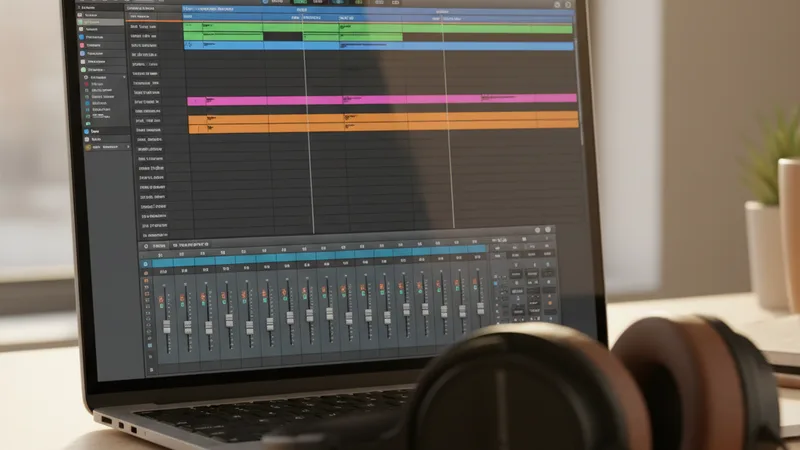
A few specifics about GarageBand that make it well-fit for AI music post-production.
It's free on every Apple device. GarageBand for Mac, iPad, and iPhone is included with every Apple device at no cost. No subscription, no upgrade pressure, no recurring fee. For users already in the Apple ecosystem, the cost of adding GarageBand to your AI music workflow is zero.
The feature set matches what AI music post-production actually needs. Multitrack editing for layering AI tracks with vocals or additional instruments. Audio effects (EQ, compression, reverb, delay) for cleaning up AI generations. A built-in library of virtual instruments and loops for adding production elements. Master output mastering for final polish. None of the deeper professional features of Logic Pro or Pro Tools are required for most AI music work.
It runs natively on iPhone and iPad. The iOS version of GarageBand is a real DAW, not a stripped-down version. You can do full AI music post-production entirely on iPhone or iPad without ever touching a desktop. For the iPhone-native AI music workflow that defines Muziko and most iPhone-AI-music apps, this is decisive.
Project files sync across devices via iCloud. Start a GarageBand project on iPhone, continue on iPad, finish on Mac. The same project file opens on all three devices. The cross-device handoff matches the AI music workflow patterns described in the AI music on iPad vs iPhone workflow test.
The learning curve is genuinely shallow. Most users can get to functional AI music post-production in GarageBand within 30-60 minutes of starting. The interface is designed for users without prior DAW experience. For comparison, Pro Tools takes weeks to learn effectively; Logic Pro takes days; Ableton Live takes days; GarageBand takes hours.
Export quality is professional. GarageBand's master output produces high-quality WAV and AAC files suitable for streaming distribution, podcast publication, sync licensing, and most commercial uses.
For the broader DAW comparison context, GarageBand is the entry point — Logic Pro is the upgrade path for users who outgrow GarageBand's feature set. Most AI music post-production needs sit within GarageBand's capabilities.
Importing AI tracks into GarageBand
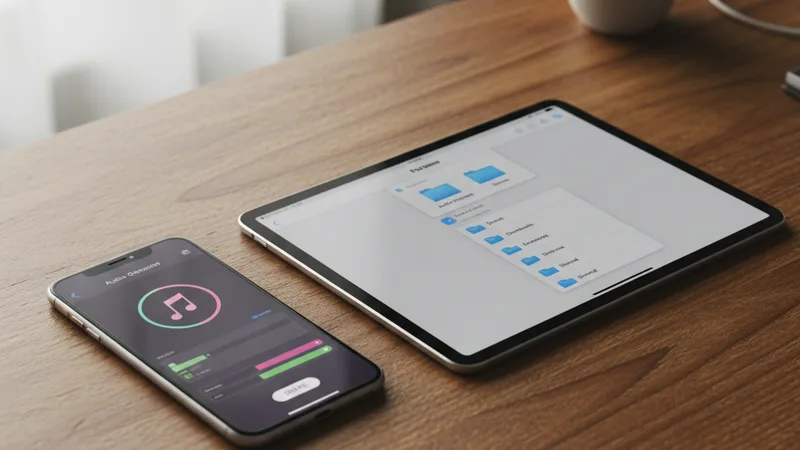
The import workflow varies by device. Three paths.
Importing to GarageBand for iPhone or iPad:
- Generate the track in Muziko, Suno, or another AI music app. Save in WAV format (or the highest-quality format the app offers).
- Save the WAV to your Files app. Many AI music apps now share directly to Files; if not, use the share sheet → Save to Files.
- Open GarageBand on iPhone or iPad. Create a new project (or open an existing one).
- Tap the loops/instrument browser icon in the top-right of the project view.
- Switch to the Files tab in the browser.
- Find your saved WAV file. Tap and hold to drag it onto a track in your project, or tap and select Import.
- The WAV imports as an audio track in your project. You can now position it on the timeline, trim, split, add effects, and layer.
Importing to GarageBand for Mac:
- Generate the track and save the WAV to your Mac via AirDrop, iCloud Drive, or any file transfer method.
- Open GarageBand for Mac. Create a new Empty Project (or open an existing one).
- Drag the WAV file directly from Finder into the GarageBand project timeline.
- GarageBand creates a new audio track containing the imported file.
- From here you have access to the full Mac GarageBand feature set — EQ, compressor, reverb, virtual instruments, loop library.
Common import gotchas:
- Tempo mismatch. GarageBand's default tempo is 120 bpm. If your AI track was generated at 75 bpm, GarageBand may try to time-stretch it to fit 120 bpm. Disable "Follow Tempo & Pitch" on the imported track to preserve the original tempo.
- Key mismatch. Similar to tempo, GarageBand may try to pitch-shift the audio to fit the project key. Disable that option to preserve the original key.
- File format. GarageBand prefers WAV, AIFF, AAC, and MP3. Some AI music apps export in formats GarageBand can't read directly; convert to WAV in another tool if needed.
- Length on iPad/iPhone. GarageBand for iOS has a project length limit. Very long imports may need to be split into sections.
For the underlying AI music generation, the AI song generator for iPhone 2026 guide covers the generation step in depth.
Remix workflow: editing and layering in GarageBand
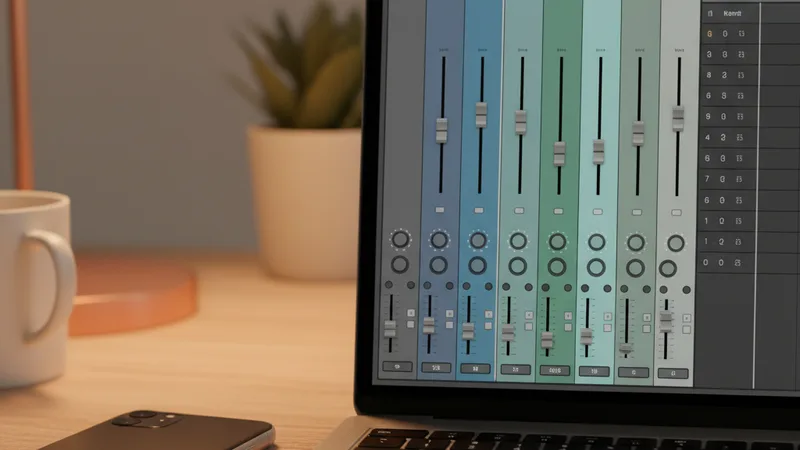
Once the AI track is imported, the remix workflow opens up. Common moves.
Basic editing:
- Trim the start or end. AI tracks sometimes have unnecessary lead-in or trail-out. Tap and drag the edges of the audio region to trim cleanly.
- Split into sections. Tap to position the playhead at a transition point, then tap Split. Each section becomes an independently movable audio region.
- Loop a section. Select an audio region and use the loop option to repeat it. Useful for extending an outro or creating a build.
- Reverse a section. GarageBand for Mac supports reverse playback of audio regions. Useful for transition effects.
- Fade in/out. Add fade-ins at the start and fade-outs at the end for smoother transitions. Drag the fade handles at the corners of the audio region.
Layering additional elements:
- Add a vocal recording. Use the iPhone or iPad microphone (or a USB mic on Mac) to record a vocal layered over the AI instrumental. This is one of the most useful AI-plus-GarageBand workflows — replace or supplement the AI vocal with your own.
- Layer GarageBand instruments. Open the instrument browser, pick a virtual instrument (piano, guitar, synth, drums), and record a part using the on-screen keyboard or play a MIDI controller. Layer it over the AI track for hybrid productions.
- Add loops from the GarageBand library. GarageBand includes thousands of pre-recorded loops across genres. Find ones in the same tempo and key as your AI track, drag them onto new tracks, layer for thicker production.
- Stack a remix arrangement. Split the original AI track, rearrange the sections, layer in instruments and loops to build a remix or extended version.
Effects on each track:
- Each audio track has access to GarageBand's effects chain. EQ, compressor, noise gate, reverb, delay, and many others. Apply selectively to individual tracks rather than the whole mix.
- Common AI music post-production effects:
- EQ to roll off muddy low frequencies in the imported AI track.
- Compressor to even out dynamic swings.
- Reverb on the vocal layer (if you recorded one) to sit it in the same space as the AI instrumental.
- High-pass filter on layered instruments to keep the low end clean.
For specific AI track use cases, see the AI lo-fi guide, AI EDM guide, and AI country guide for genre-specific post-production patterns.
Mastering with GarageBand's built-in tools
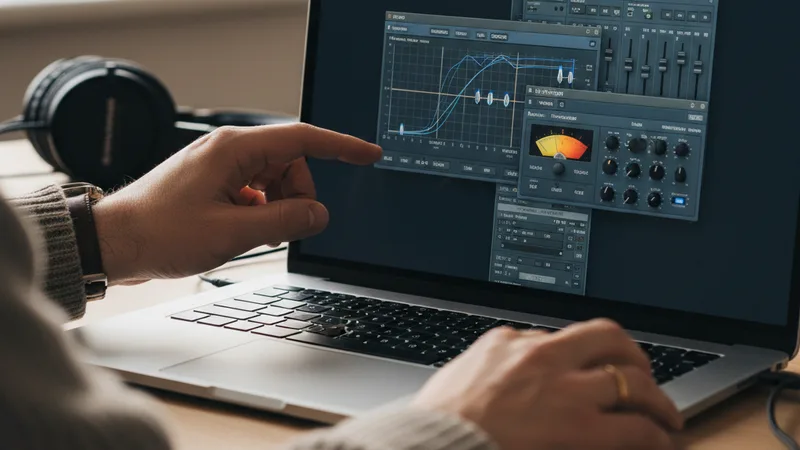
GarageBand includes mastering tools accessible from the master output channel. The mastering workflow for AI tracks.
Step 1: Listen to the unmastered mix on multiple playback systems. Headphones, laptop speakers, Bluetooth speaker, car stereo if possible. Identify what's off — too bright, too muddy, too quiet, too compressed, vocals too forward, vocals too buried.
Step 2: Open the master output channel. In GarageBand for Mac, click the master volume slider; in GarageBand for iOS, tap the master track at the top of the timeline.
Step 3: Add a master EQ if needed. GarageBand's master EQ has high-shelf, low-shelf, and parametric mid bands. Common mastering moves:
- Pull down the low-mids (200-400 Hz) by 1-2 dB if the mix sounds muddy.
- Add a slight high-shelf boost above 8 kHz for streaming brightness.
- Cut a narrow dip at 4-6 kHz if vocals are harsh.
Step 4: Add a master compressor for glue. A gentle 2:1 ratio with slow attack and slow release tightens the overall mix without obvious pumping. Adjust gain reduction to 2-4 dB at peak.
Step 5: Add a limiter for loudness. GarageBand includes a peak limiter on the master channel. Set the ceiling to -1.0 dBFS to prevent clipping. Drive the input enough to bring the average level to -14 LUFS (streaming standard) or -16 LUFS (podcast standard).
Step 6: Use GarageBand's master preset library. GarageBand for Mac includes mastering presets organized by genre. Try the relevant genre preset as a starting point, then tweak the EQ and compression to match your specific mix.
Step 7: Reference check. Compare your mastered AI track to a commercial reference track in the same genre. Listen for overall loudness, brightness, low-end weight, and stereo width. Adjust until your master sits in the same sonic space.
Common AI track mastering issues to fix:
- AI tracks often sound bright but lack low-end weight. Add 1-2 dB at 60-100 Hz with the low-shelf EQ.
- AI tracks sometimes have unusual stereo imaging. Listen in mono to check; widen with a stereo enhancer if needed.
- AI vocals can sit too far forward in the mix. Pull back the master vocal track in your mix balance before mastering.
For the specific use case of mastering for streaming distribution, the master output should target -14 LUFS average loudness with peaks not exceeding -1.0 dBFS, which is the streaming-platform target loudness.
Effects and loops: layering creative elements
GarageBand's built-in loop library and virtual instruments add creative layers to AI tracks. The strongest use cases.
Use GarageBand loops to add genre-appropriate flavor:
- Lo-fi tracks benefit from adding GarageBand's vinyl crackle, tape hiss, and ambient pad loops layered subtly under the AI track.
- Pop tracks can layer in additional percussion loops (claps, shakers, hi-hat patterns) to fatten the rhythm section.
- EDM tracks can use GarageBand's electronic loops for extra synth stabs and percussion details.
- Acoustic tracks can layer in GarageBand's acoustic instrument loops for additional texture.
- Hip-hop tracks can layer in GarageBand's drum kit samples and vocal chops for additional flavor.
Match the tempo and key. The GarageBand loop browser shows the tempo and key of each loop. Filter to find loops matching your imported AI track. Loops automatically time-stretch and pitch-shift to fit your project tempo and key, which is convenient but watch for artifacts.
Use GarageBand virtual instruments for layered melodies:
- Piano for layering melodic counter-lines or chord pads.
- Synth for adding bass reinforcement, lead synth doubles, or pad textures.
- Guitar for adding fingerpicked layers or strumming patterns.
- Drum machine for layering additional rhythm elements.
Use the on-screen keyboard or, on iPad, the touch-friendly Smart Instruments that play sensible parts automatically based on the project's chord chart.
Apply effects creatively:
- Vocal effects on the AI vocal stem (if you've extracted it): pitch shift, reverb, delay, harmonization.
- Filter sweeps on transitions. Use GarageBand's filter automation to create build-ups and drops.
- Bus effects. Route multiple tracks through a shared bus with a single reverb or delay for cohesive ambient space.
Avoid over-layering. AI tracks are already produced; adding too many additional layers can result in a muddier, busier mix. Be selective — add elements that fill genuine gaps rather than competing with what's already there.
For the broader AI music remix workflow, the how to extract stems from AI music guide covers extracting stems first, which enables more precise GarageBand mixing.
When to use GarageBand vs other DAWs
Honest accounting of when GarageBand fits and when to reach for a different DAW.
Use GarageBand for AI music post-production if:
- You're new to DAWs and want the shortest learning curve.
- You work primarily on iPhone, iPad, or Mac in the Apple ecosystem.
- Your post-production needs are basic: trim, EQ, compress, layer vocal or one extra instrument, master, export.
- You want to do everything on iPhone or iPad without a desktop.
- You're producing personal-occasion songs, podcast intros, simple remixes, content creator background music.
- You don't need professional plugin support (third-party VST/AU plugins beyond what GarageBand includes).
- Your budget for DAW software is zero.
Use Logic Pro for AI music post-production if:
- You're outgrowing GarageBand's feature set but want to stay in the Apple ecosystem.
- You need professional third-party plugin support (Logic supports AU plugins; GarageBand supports a limited subset).
- You're doing serious commercial release work that benefits from Logic's advanced mixing tools.
- You need Logic Pro 11's built-in Stem Splitter for separating AI tracks into stems.
- You're producing albums, sync licensing catalogs, or game soundtracks at scale.
- You already own a Mac and can afford the $199 one-time Logic Pro purchase.
Use Ableton Live for AI music post-production if:
- You're a DJ or live performer building set tracks.
- You work with loops and grids extensively; Ableton's clip-based workflow fits.
- You need warp-mode tempo manipulation for remix work.
- You're producing electronic music where Ableton's instrument library and synthesis tools matter.
- You're cross-platform (Mac and Windows).
Use Pro Tools for AI music post-production if:
- You're working in a professional studio environment.
- You're collaborating with engineers and producers who use Pro Tools.
- You need broadcast-grade mastering tools.
- You're producing for film, TV, or major label release.
Use Reaper for AI music post-production if:
- You're cross-platform and want a low-cost commercial DAW.
- You're comfortable with a more technical DAW interface.
- You want the flexibility of customization Reaper offers.
For most AI music users in 2026, GarageBand is sufficient and free. The DAW upgrade decision usually comes when specific feature limitations of GarageBand start to constrain creative work — most commonly when needing professional plugin support, advanced mastering tools, or sophisticated mixing capability beyond what GarageBand provides.
For broader context on AI music creation across iPhone, iPad, and desktop, see the AI music on iPad vs iPhone workflow test.
Try the full AI-into-GarageBand workflow
The fastest way to understand the workflow is to walk through one complete project.
Step 1 (AI music app): Open Muziko on iPhone. Generate a track. Save in WAV format.
Step 2 (Files app): Verify the WAV is saved to Files (iCloud Drive or local).
Step 3 (GarageBand for iOS or Mac): Open GarageBand. Create a new project. Import the WAV.
Step 4 (Layer): Record a vocal layer using the iPhone or iPad microphone, or add a GarageBand instrument or loop to fill out the production.
Step 5 (Mix): Adjust track volumes so the AI track sits at the right level under the new layers. Add basic EQ and compression on each track.
Step 6 (Master): Open the master output channel. Add a gentle EQ to balance the overall sound. Add a master compressor for glue. Add a limiter to bring the final loudness to -14 LUFS.
Step 7 (Export): Use GarageBand's Share → Song to feature to export. Choose AAC or WAV format. Save to Files or share directly to social media, email, or distribution services.
The whole workflow takes 30-60 minutes for a first project. Subsequent projects run in 15-30 minutes once the workflow is internalized.
For the specific use cases that benefit from this workflow, see the AI podcast intro music guide, AI wedding songs guide, and AI birthday song guide — all of which become more polished with GarageBand post-production.
Frequently asked questions
Can I import AI-generated music into GarageBand?
Yes. GarageBand on iPhone, iPad, and Mac all support importing audio files including WAV, AIFF, AAC, and MP3 — the standard formats that AI music apps export to. The workflow: generate the track in your AI music app (Muziko, Suno, Udio, etc.), save the file in WAV format (or the highest-quality format the app offers), then import into GarageBand. On iPhone or iPad, use the file browser in the loops tab to drag the WAV onto a track. On Mac, drag the WAV directly from Finder into the GarageBand timeline. Once imported, the AI track becomes an editable audio track you can trim, split, layer with other tracks, add effects to, and master.
Is GarageBand free for AI music post-production?
Yes, GarageBand is free on all Apple devices — iPhone, iPad, and Mac. No subscription, no upgrade fees, no in-app purchases for core features. The only cost is the device itself. For users already in the Apple ecosystem (any iPhone or Mac purchased in the last decade has GarageBand available), the cost of adding GarageBand to your AI music post-production workflow is zero. This makes GarageBand the most economical DAW option for AI music users. The trade-off compared to paid DAWs (Logic Pro $199, Ableton Live $99-749, Pro Tools $30/month) is reduced feature set, but GarageBand has enough for most AI music post-production needs.
Can I add my own vocals to an AI-generated instrumental in GarageBand?
Yes, and this is one of the strongest AI-plus-GarageBand workflows. Generate an instrumental version of your AI track (or extract the instrumental stem from a vocal AI track using the stem separation tools covered in the AI music vocal separation guide). Import the instrumental into GarageBand. Add a new audio track. Use the iPhone, iPad, or Mac microphone to record your vocal performance over the AI instrumental. Layer effects (EQ, compression, reverb) on the vocal track to sit it in the same space as the AI instrumental. The result is a hybrid track combining AI music production with your own vocal performance — a workflow particularly useful for singer-songwriters who want AI to handle the production while keeping their personal vocal identity.
How do I master AI-generated music in GarageBand?
Use GarageBand's master output channel tools: EQ, compression, and limiter. Open the master output settings. Add a master EQ to balance the overall sound — common moves include pulling down 200-400 Hz by 1-2 dB if the mix sounds muddy, adding a slight high-shelf boost above 8 kHz for streaming brightness. Add a master compressor at a gentle 2:1 ratio with slow attack and slow release for overall glue. Add a limiter with the ceiling at -1.0 dBFS to prevent clipping; drive the input to bring the average level to -14 LUFS (streaming standard) or -16 LUFS (podcast standard). GarageBand for Mac includes mastering presets organized by genre — try the relevant preset as a starting point. Compare your master to a commercial reference track in the same genre and adjust until they sit in similar sonic space.
Should I use GarageBand or Logic Pro for AI music post-production?
GarageBand for most users — it's free, has a shallow learning curve, and covers most AI music post-production needs. Upgrade to Logic Pro ($199 one-time) when you specifically need: professional third-party plugin support (AU plugins beyond what GarageBand includes), Logic Pro 11's built-in Stem Splitter for separating AI tracks, advanced mixing tools beyond GarageBand's mixer, mastering tools tuned for serious commercial release work, or production capabilities for albums, sync licensing catalogs, or game soundtracks at scale. Many AI music users start in GarageBand and never need to upgrade — the feature set is sufficient for personal occasion songs, podcast post-production, content creator backgrounds, simple remixes, and even most indie release work. For comparison purposes, GarageBand and Logic Pro share much of the same underlying audio engine; Logic adds professional features rather than offering fundamentally better core audio quality.
Can I do the full AI music to GarageBand workflow entirely on iPhone or iPad?
Yes. Both Muziko and GarageBand are native iOS apps, so the full workflow — generate AI track, save to Files, import into GarageBand, layer and edit, master, export — runs entirely on iPhone or iPad without ever touching a desktop. iPad's larger screen and external keyboard support make the GarageBand editing experience meaningfully better than iPhone for complex projects, but iPhone-only is workable for simpler projects. iCloud syncs GarageBand project files between devices, so you can start on iPhone and finish on iPad seamlessly. For users entirely in the iPhone-and-iPad ecosystem without a Mac, the workflow is fully supported. For the broader iPad versus iPhone workflow context, see the AI music on iPad vs iPhone workflow test.
Try everything you just read about. Muziko is free to download.

![AI Lyrics Generator: Write Song Lyrics Free [Tested 2026]](/_next/image?url=%2Fimages%2Fblog%2Fai-lyrics-generator%2Fhero.webp&w=3840&q=75)